Reduce the data in an experiment
Data Reduction, the optional fifth step of the experiment wizard, removes unneeded columns or rows before DATALAB creates the output. A focused data set usually processes faster and is easier to analyze after download.
The controls reduce data in two distinct ways:
| What you set | What it controls |
|---|---|
| Parameter Library, Parameters in the output | Which parameters are in the output, meaning the columns |
| Geofence filtering, Conditional Filtering | Which data records are in the output, meaning the rows |
A parameter you filter on does not have to appear in the output. You can keep two parameters as columns while using a third one purely to decide which rows survive.
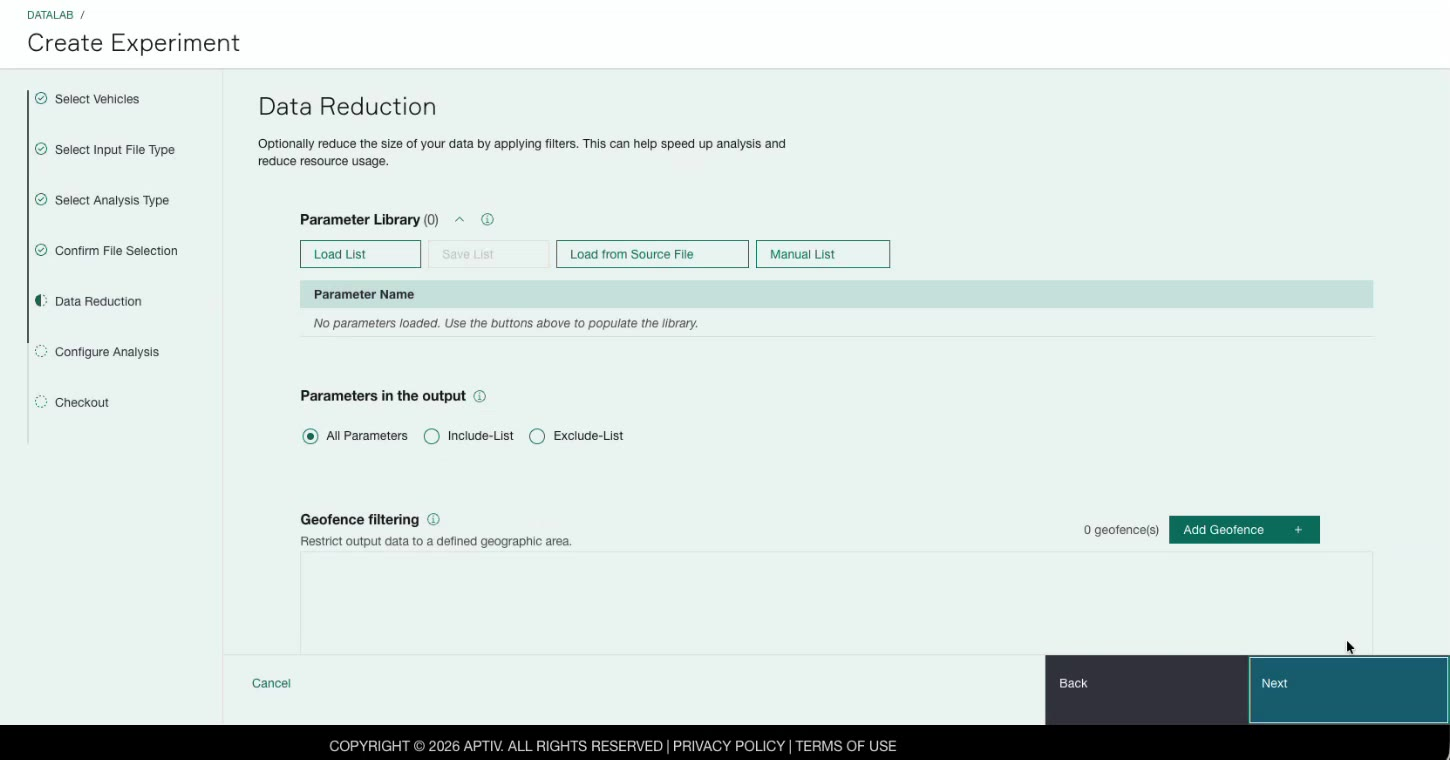
Choose which parameters end up in the output
Load the parameter library
The Parameter Library is a working list of parameter names. Loading parameters into it does not change your output on its own. It just gives you a set of names to choose from in the next part.
Populate the library with one of these:
| Button | What it does |
|---|---|
| Load from Source File | Reads the parameter names out of one of the files in your experiment |
| Load List | Loads a list you saved earlier |
| Manual List | Lets you paste in parameter names, for example from a spreadsheet |
The heading shows the number of parameters currently loaded, such as Parameter Library (160).
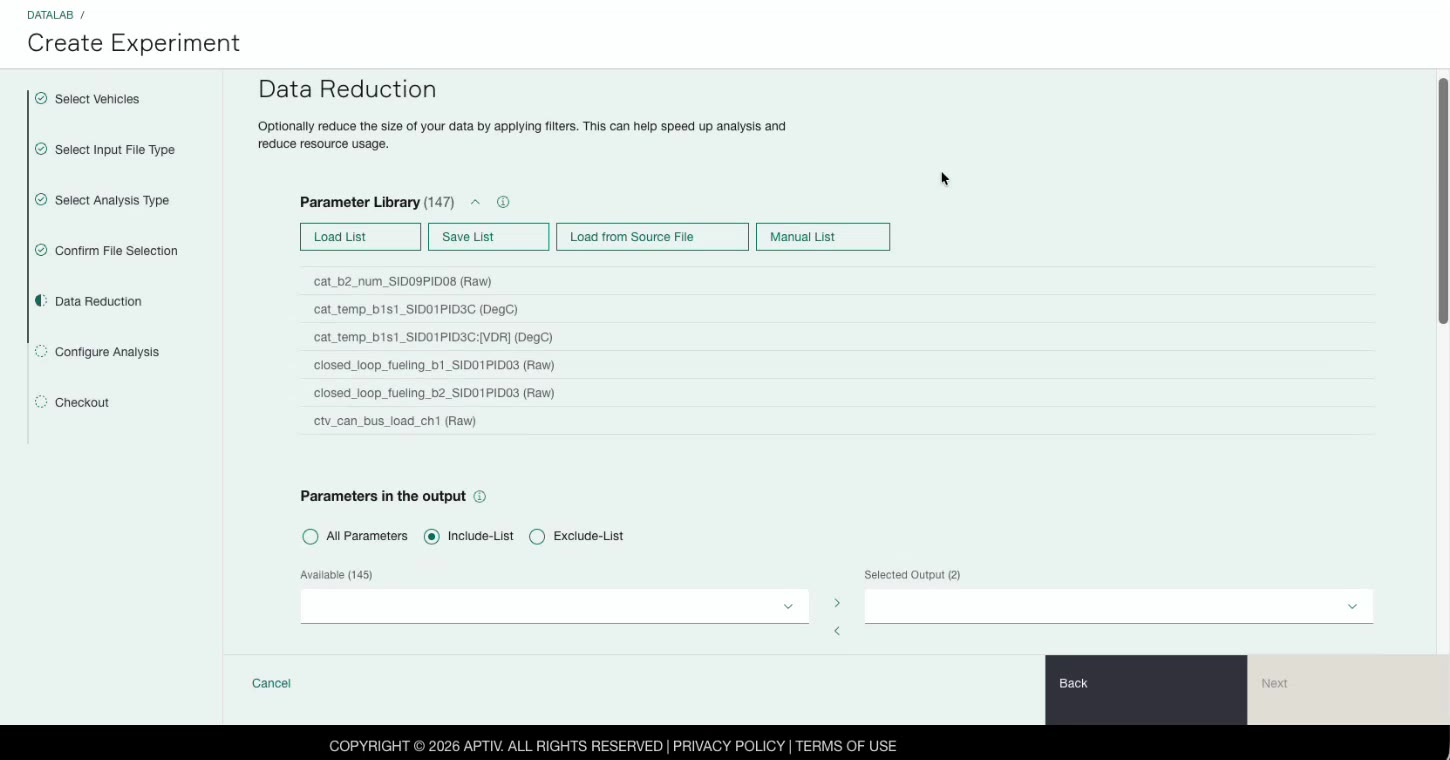
Select the output parameters
Under Parameters in the output, choose one:
- All Parameters. Every parameter from every file appears in the output. This is the default.
- Include-List. Only the parameters you select appear in the output.
- Exclude-List. Every parameter appears in the output except the ones you select.
If you choose Include-List or Exclude-List, two panels appear. Available lists the parameters from your library, and Selected Output lists the ones you have chosen. Move parameters between the panels with the arrow controls.
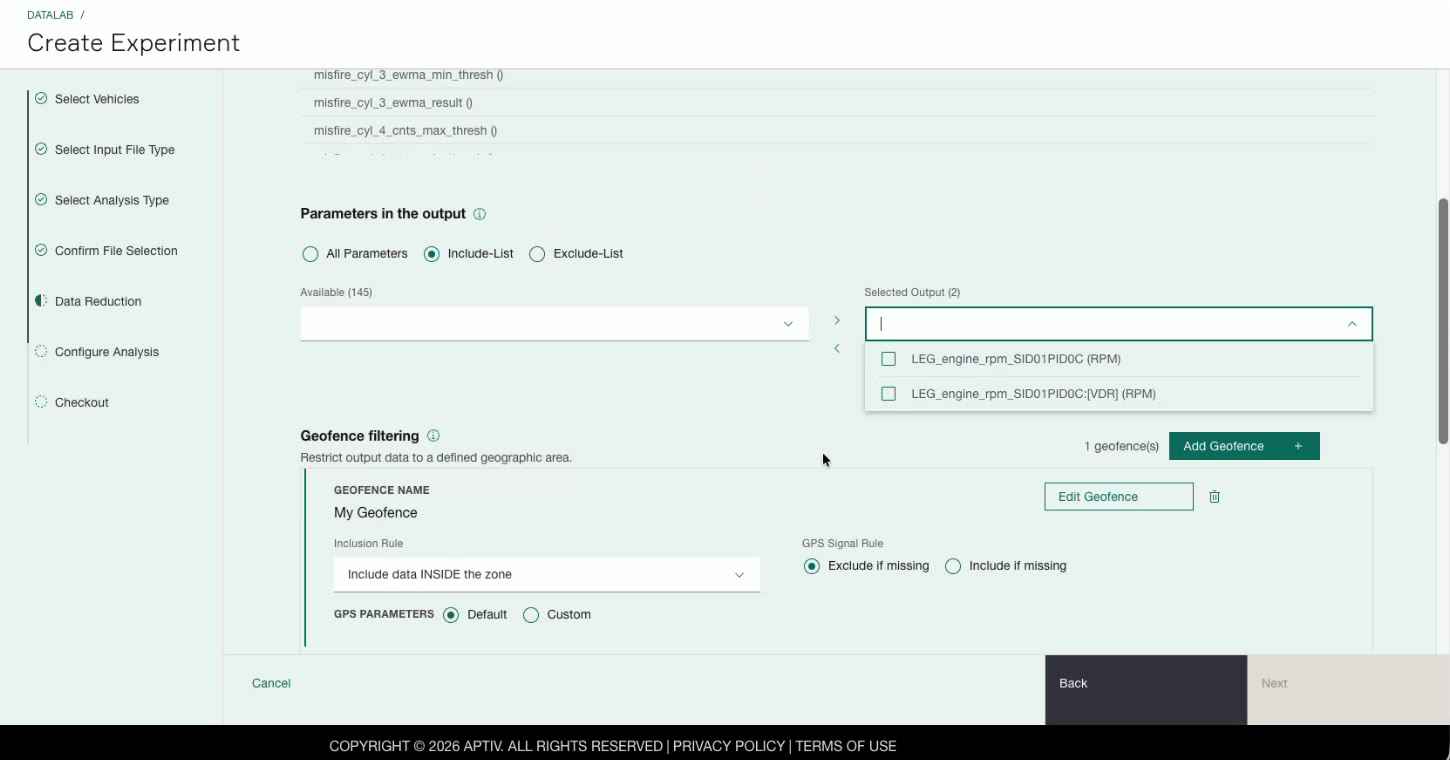
Save a parameter list for reuse
If you run similar experiments regularly, save your selection instead of rebuilding it each time.
- Get the parameters you want into Selected Output.
- Click Save List.
- Enter a name in List name and click Save.
Qualifier confirms with Parameter list saved successfully.
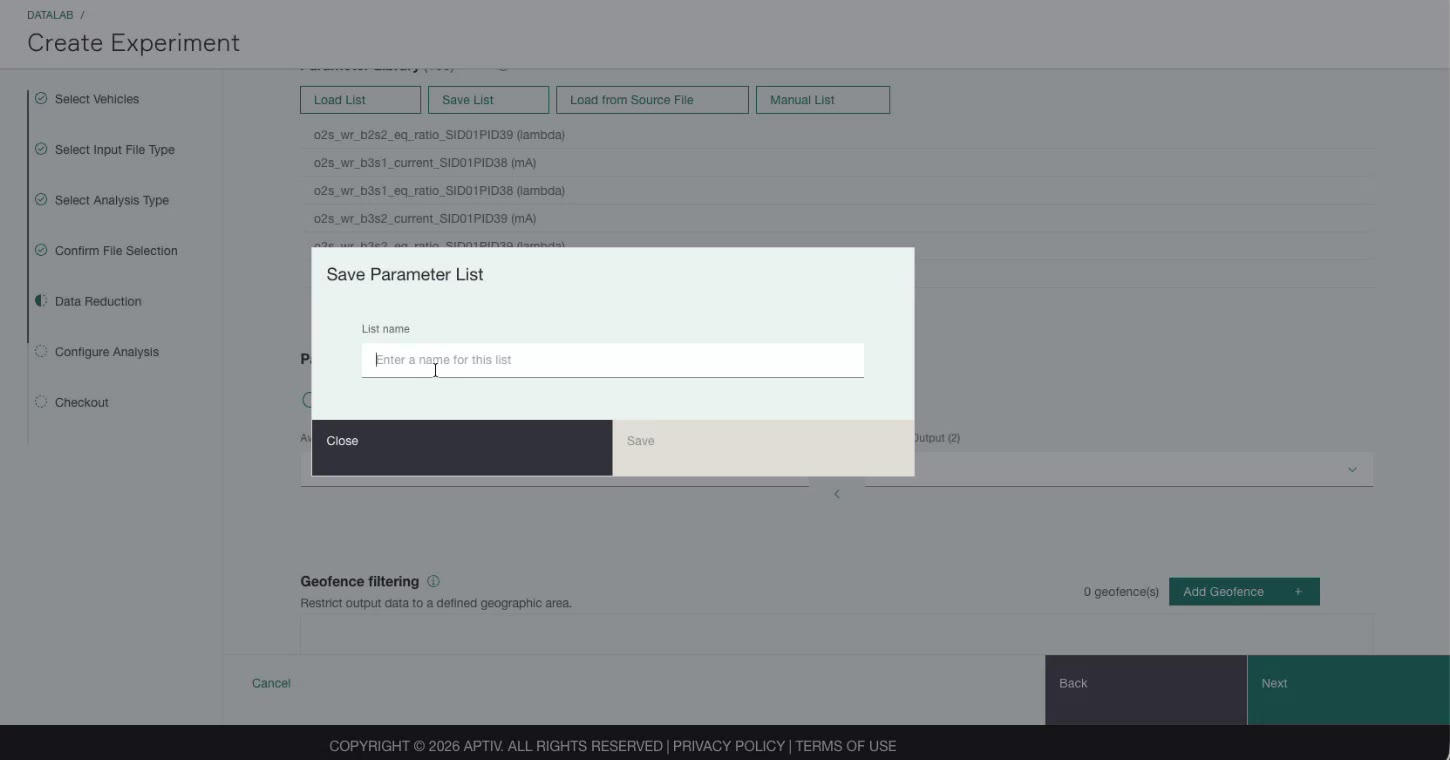
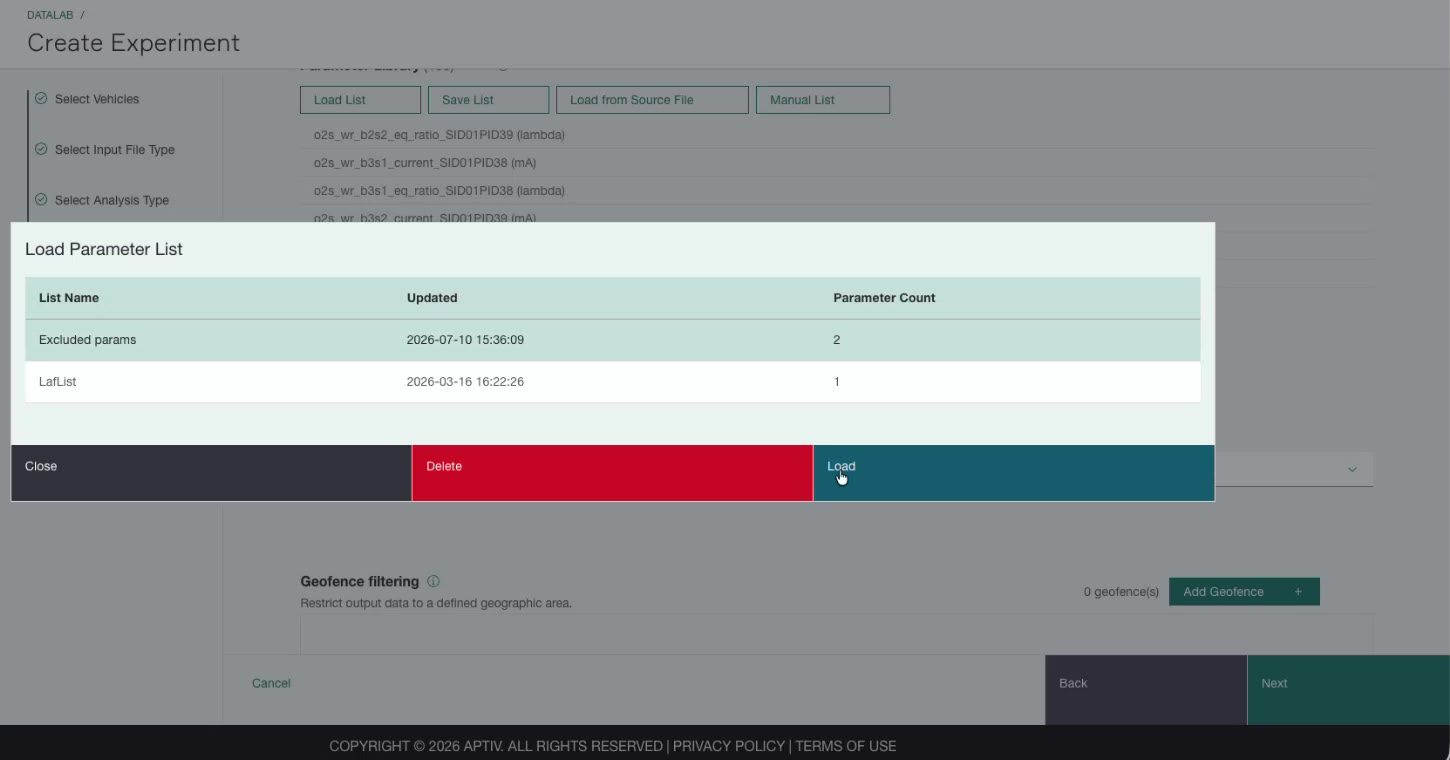
To use it later, click Load List, select the list, and click Load. The dialog shows each list's name, when it was last updated, and how many parameters it holds. You can also delete a list from here.
Restrict output to a geographic area
Geofence filtering keeps or discards data based on where the vehicle was when it was recorded.
Draw a geofence
- Click Add Geofence +. The Geofence Builder opens.
- Enter a Geofence Name, and optionally a Geofence Description.
- Click the polygon tool on the map, then click to place each corner of your area. Click Finish to close the shape. Delete last point removes the most recent corner.
- To adjust a shape you already drew, drag its handles, then click Save.
- Click Apply.
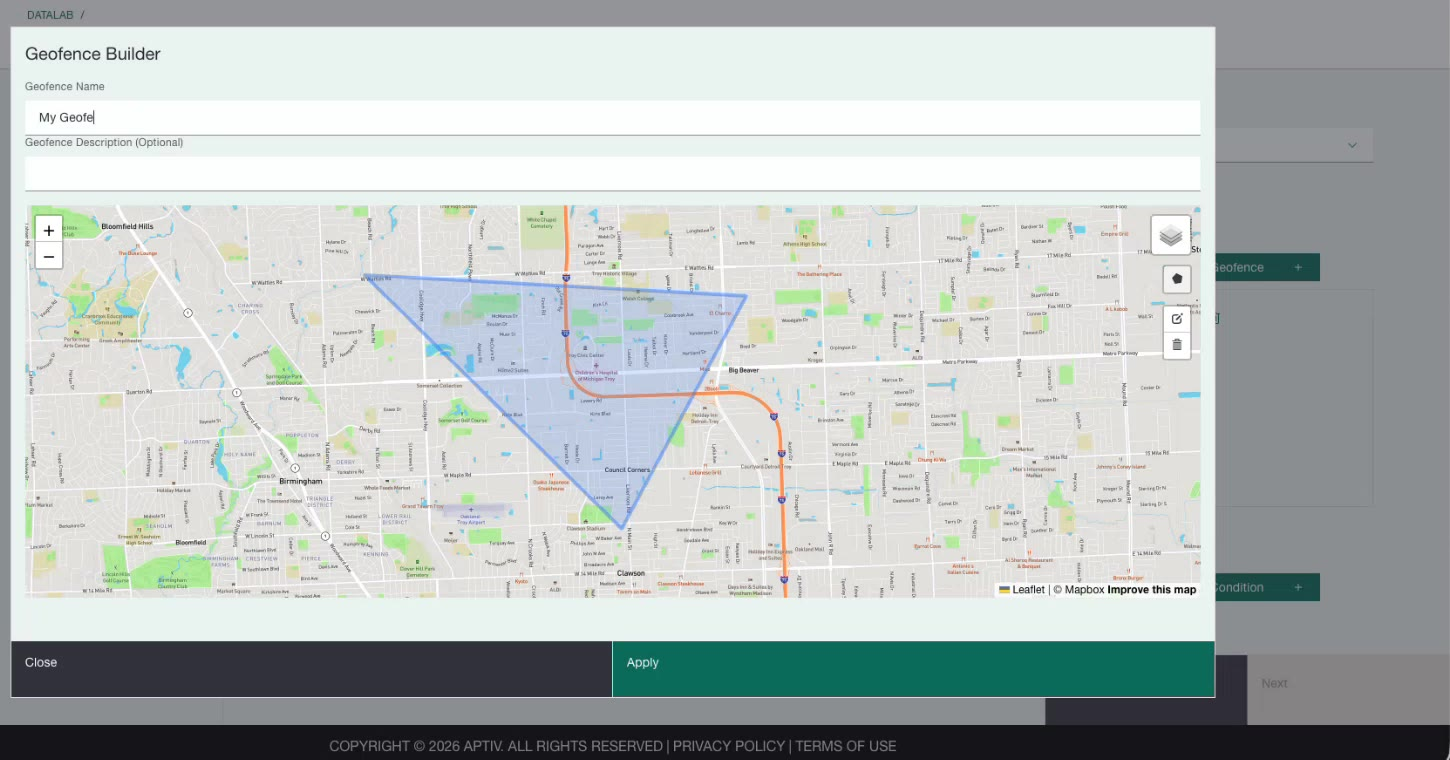
Your geofence now appears in the Geofence filtering section, where you can click Edit Geofence to change it or use the delete icon to remove it.
Set the inclusion rule
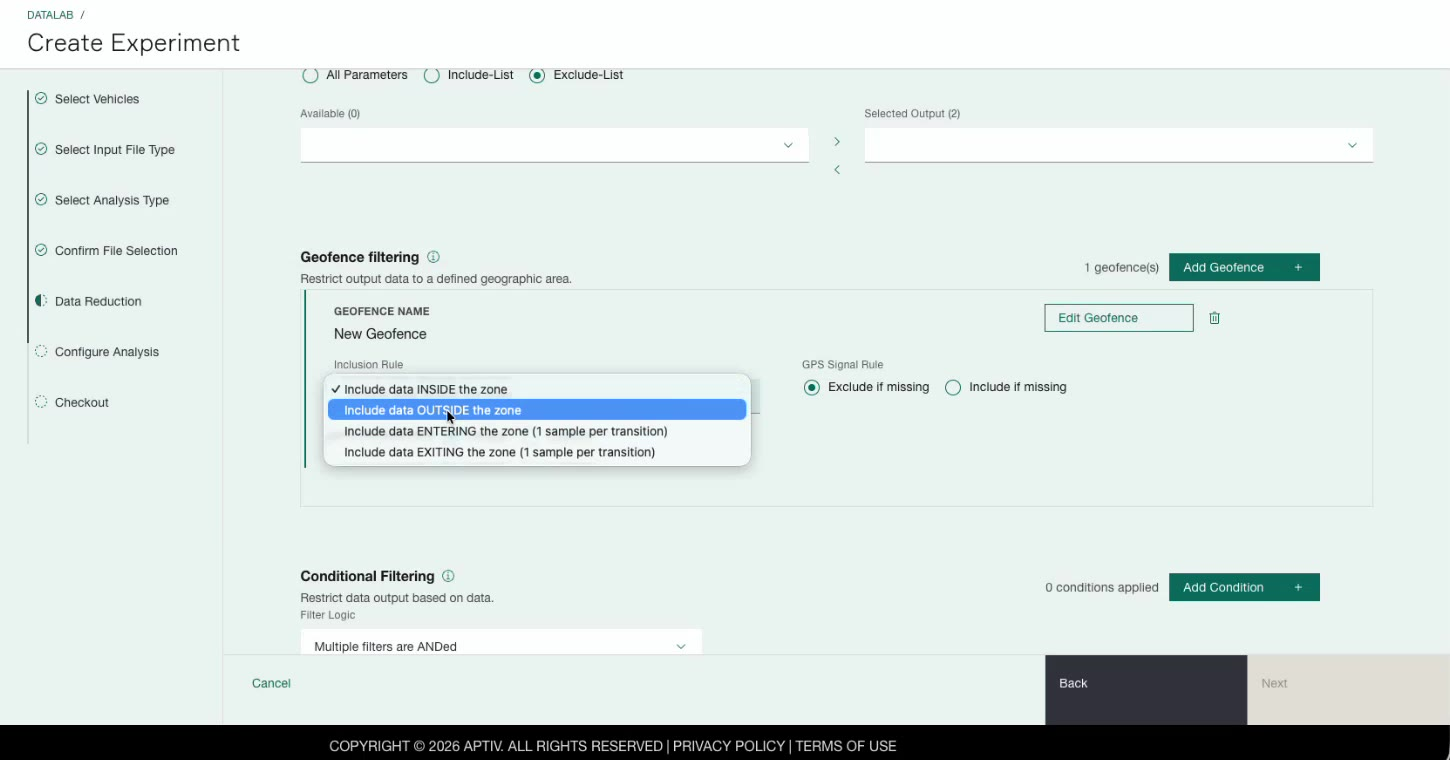
Inclusion Rule decides what the geofence does:
| Rule | Effect |
|---|---|
| Include data INSIDE the zone | Keeps only records recorded within the area |
| Include data OUTSIDE the zone | Keeps only records recorded beyond the area |
| Include data ENTERING the zone | Keeps one record each time the vehicle crosses in |
| Include data EXITING the zone | Keeps one record each time the vehicle crosses out |
Decide what to do about missing GPS
Sometimes a record has no GPS position, so Qualifier cannot tell whether the vehicle was inside the zone. GPS Signal Rule tells it what to do:
- Exclude if missing drops those records.
- Include if missing keeps them.
You can add more than one geofence. Each is evaluated separately.
Restrict output based on signal values
Conditional Filtering keeps or discards records based on what a parameter was reading at the time.
- Click Add Condition +.
- Choose a Parameter. You can pick from any parameter in your parameter library, so load the library first.
- Choose an Operator and enter a Value.
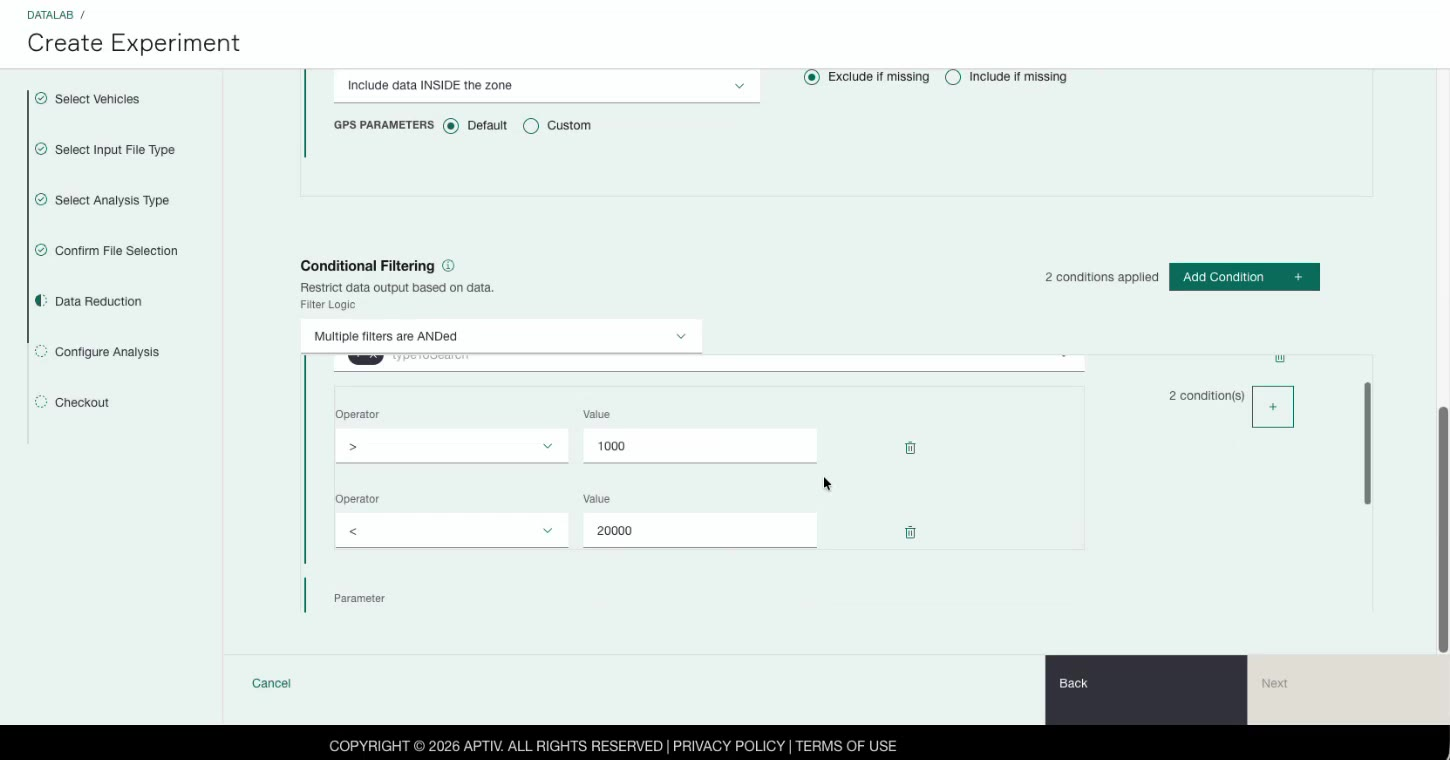
- To bound a parameter on both sides, click + on that condition and add a
second operator and value. For example,
> 1000combined with< 20000keeps only records where the reading falls between those two values. - Click Add Condition + again to filter on a different parameter.
Filter Logic shows how the conditions combine. The current behavior is Multiple filters are ANDed, meaning a record has to satisfy every condition to survive.
The count beside the section, such as 2 conditions applied, tells you how many conditions are active.
A worked example
Say you concatenated a set of manual trigger events and you want a small file covering engine speed during city driving only.
- Load the parameter library with Load from Source File.
- Set Parameters in the output to Include-List and move the two engine speed parameters into Selected Output. Your output now has two columns.
- Add a geofence around the city, and set Inclusion Rule to Include data INSIDE the zone.
- Add a condition on the barometric pressure parameter,
> 1000.
The output contains the two engine speed parameters only. It contains a row only where the vehicle was inside the geofence and barometric pressure was above 1000. Barometric pressure itself is not in the output, because it was used to select rows rather than to fill a column.