Filters (legacy)
This page documents the legacy Qualifier interface. Unless a task is only available there, the User Guide covers the interface you see when you sign in.
To reach the legacy interface, set the Next-Gen UI toggle in the top bar to Off.
This page covers filter profiles in the legacy interface. For the standard interface, see Use global filter profiles.
Click Filters in the legacy top navigation to open Global Filters.
These filters apply across the site for the current session.
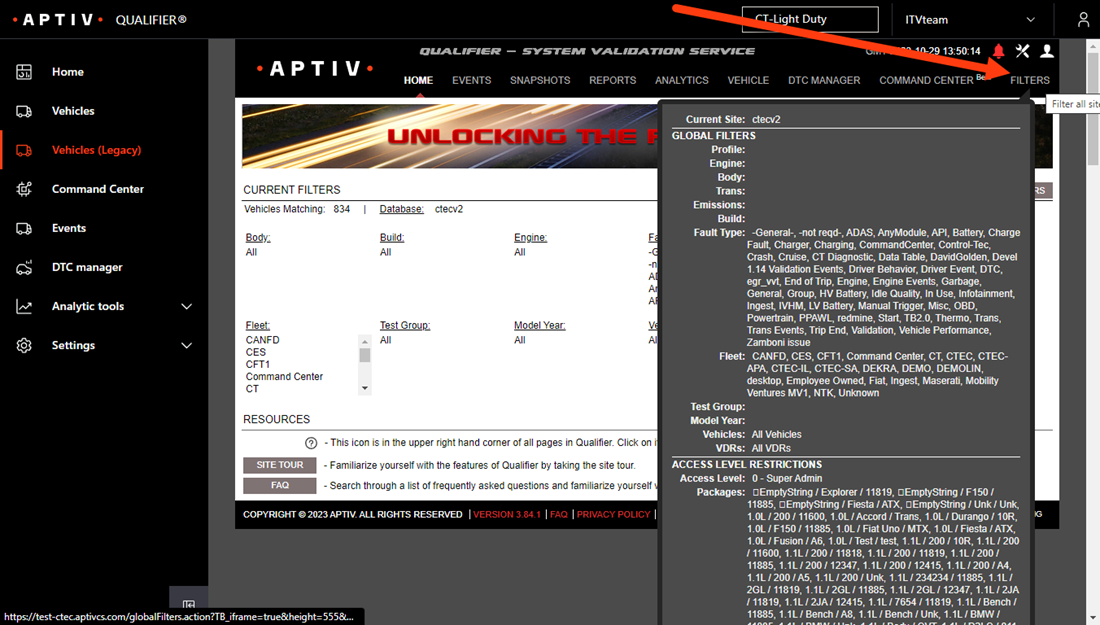
Hover over Filters to review the currently applied values in a popover.
You can also set defaults and save multiple profiles for later use.
Filter profile editor
When you click Filters, the Filter Profile Editor will appear, as shown in the following screenshot:
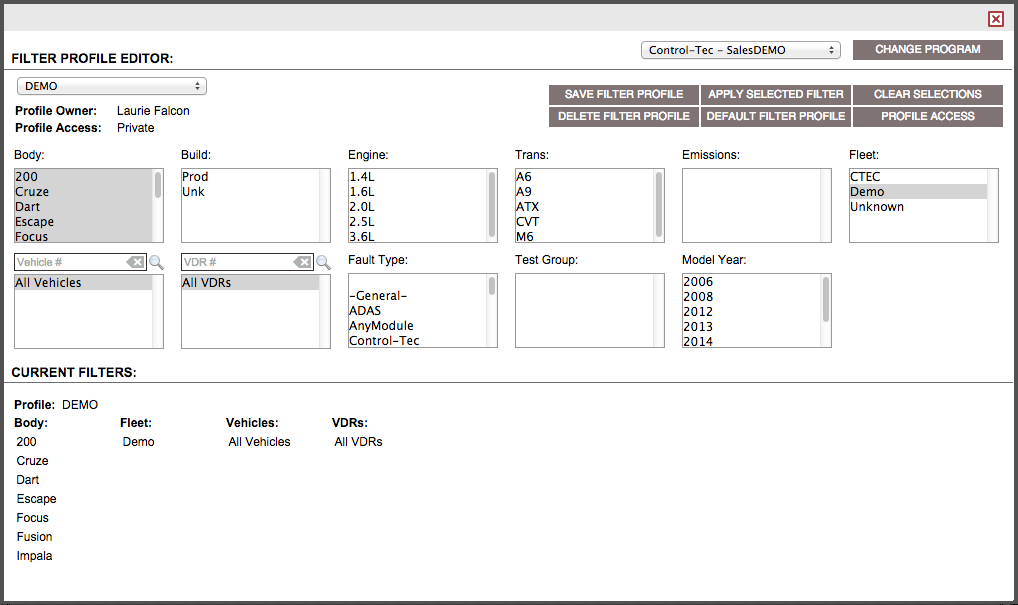
You can use the selection boxes to set up a Filter Profile that can be saved for use later on.
You can also left mouse click to select one of the options displayed or Ctrl + left click to adds or remove additional selections.
How to create a new filter profile
To create a new profile, follow the steps below:
-
Select your criteria.
-
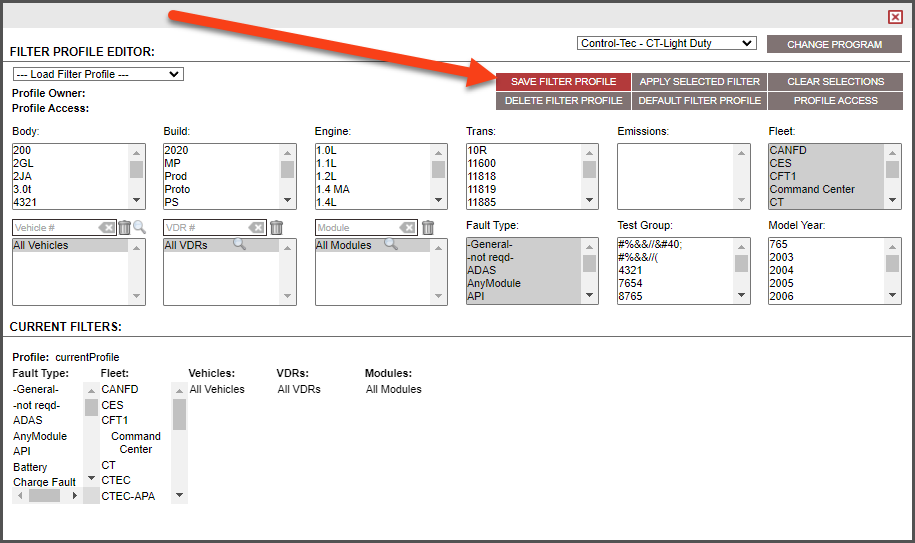
Once you have made all of your selections, click Save Filter Profile.
-
Give the profile a name in the pop up window that appears and click Save New Filter Profile.
-
(Optional) To apply the filter to the site for the current session, click Apply Selected Filter.
Once complete, the profile will now be an option in the Load Filter Profile menu on the upper left of this window.
Clearing a filter profile
To clear any filtering that has been applied, click the Clear Selections button, then click Apply Selected Filter.
To remove a profile that is no longer needed, select the profile from the drop down menu. Click Delete Filter Profile then click Delete Profile in the confirmation pop up.
Setting a default filter profile
There is an option to set a default filter profile so that every time you log in to Qualifier, it applies that filter automatically.
To set a default filter profile, follow the steps below:
-
Set up the filter profile and save it as instructed above.
-
Make sure the desired profile is selected and click Default Filter Profile.
-
Click Set Default on the confirmation pop up.
This can be changed at any time by following the same steps.
Private versus global profiles
By default, every new filter that is set up by a user is a private filter for that user.
You can make it available to other members of your organization by clicking following the steps below:
-
Click Profile Access.
-
Click Make Public on the confirmation pop up.
You can reverse this back to private using the same process and clicking Make Private in the confirmation pop up.